Creating a Checklist
How to find your job, select the right checklist type, review the details, and download the completed checklist.
Overview
Before searching for your job, you need to sync the checklist with the latest data from SquareCoil. Skipping this step can cause your job to not appear in the search results, even if it already exists in the system.
Steps
-
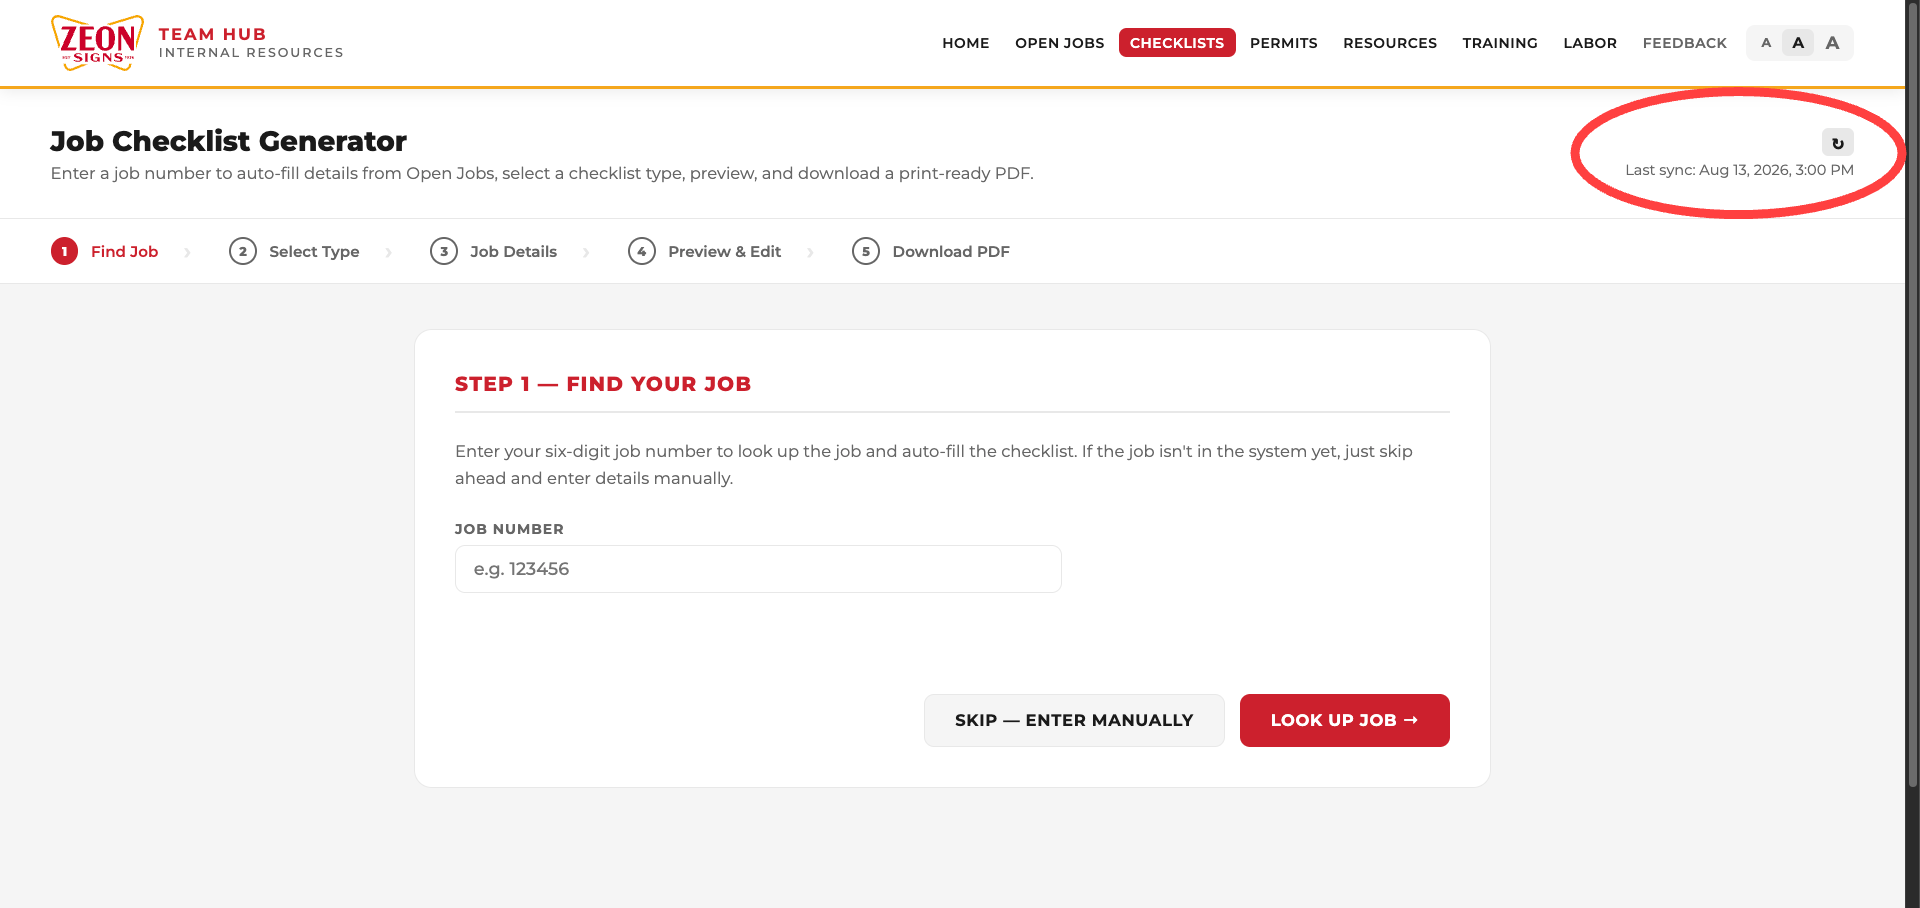
1Click the refresh symbolBefore entering a job number, click the refresh / sync button at the top of the page. This pulls the latest jobs from SquareCoil so your search results are up to date. The job must already exist and have been processed in SquareCoil before it will appear in the Team Hub database — refreshing will not create the job if it hasn't been entered there first.
-
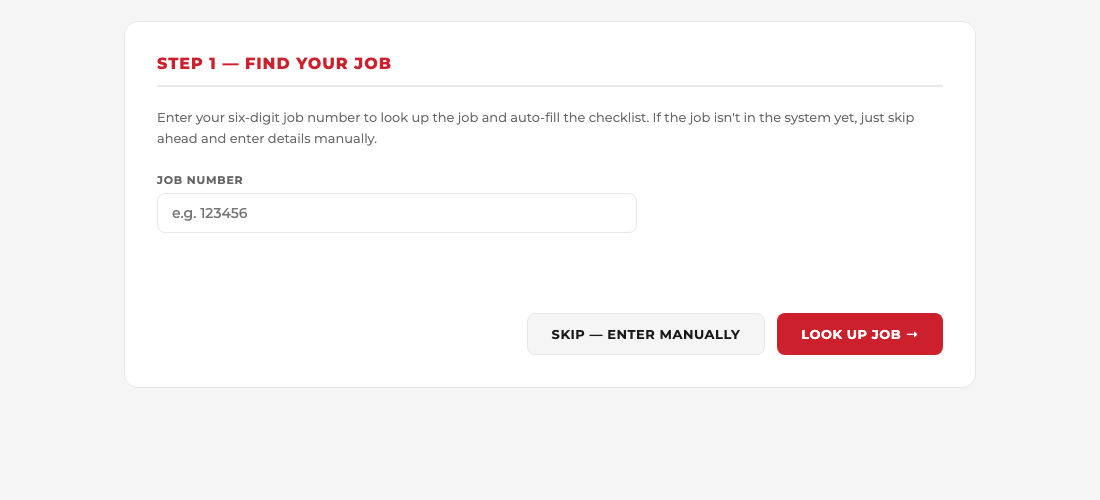
2Enter your job numberType your six-digit job number into the Job Number field. The field only accepts numbers.
-
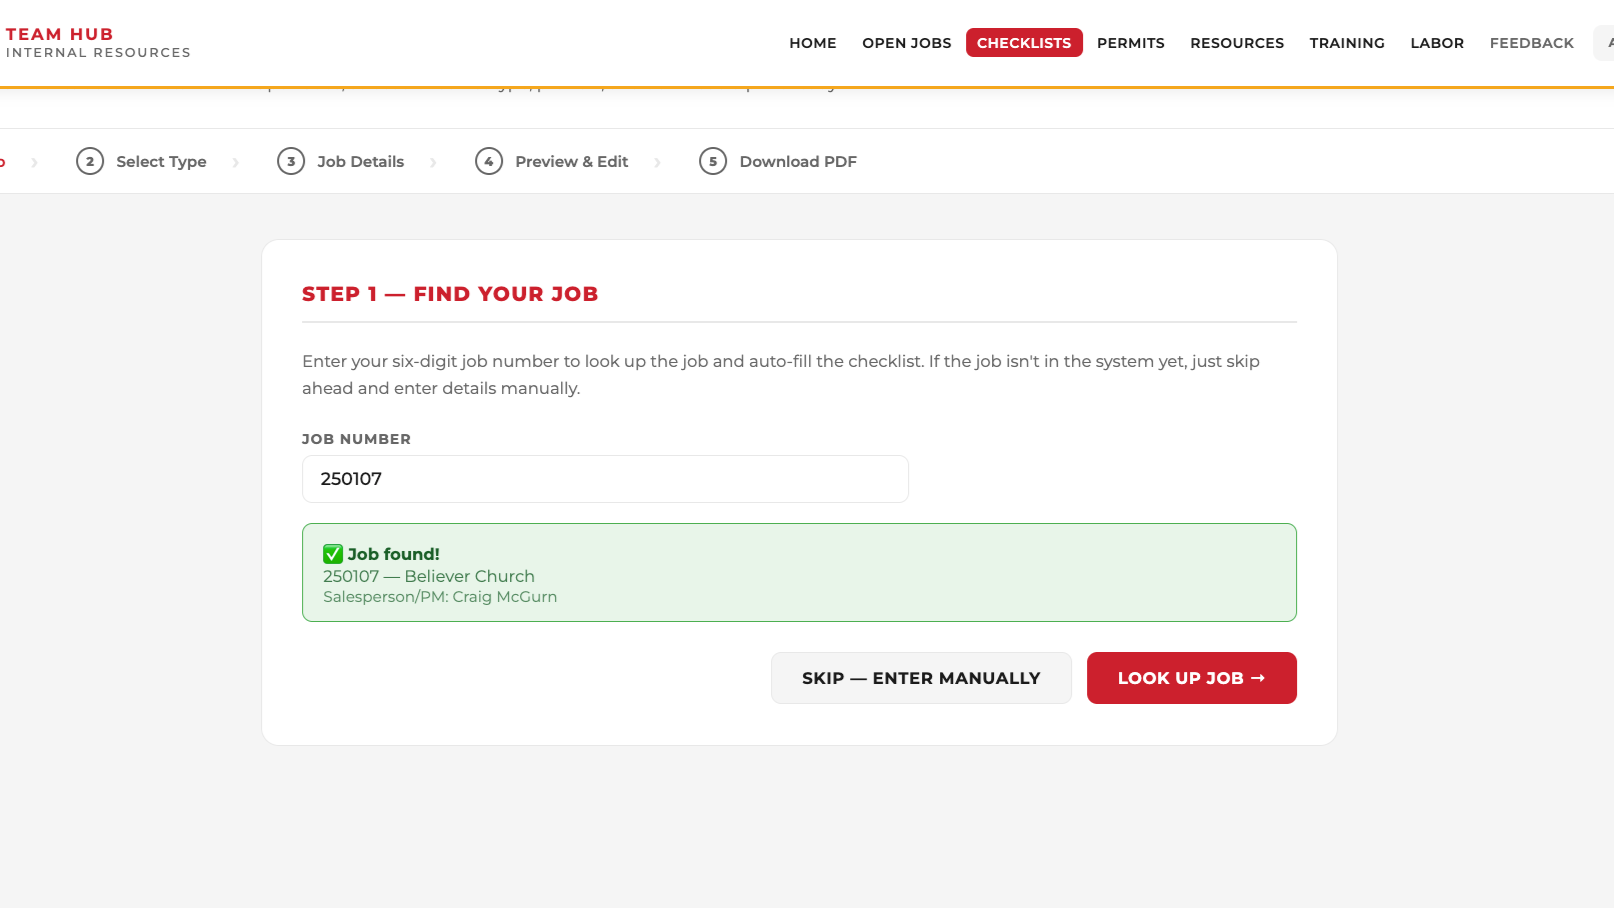
3Click "Look Up Job"Click Look Up Job → (or press Enter). The system will find the job and auto-fill the checklist with the job name, number, PM, and other details from SquareCoil.
Overview
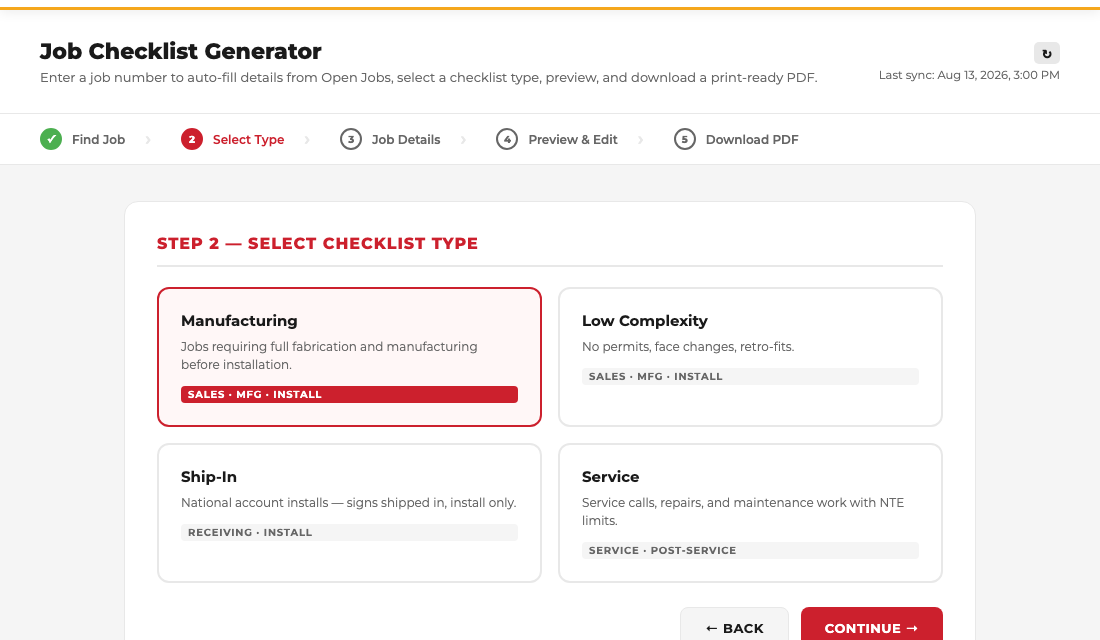
The checklist type determines what fields you'll fill in and what the final document covers. Selecting the wrong type will produce an incorrect checklist, so make sure you know your job before choosing.
The Four Types
Steps
-
1Select the type that matches your jobClick on the card that corresponds to your job. The selected card will highlight to confirm your choice.
-
2Click "Continue"Once a type is selected, the Continue → button will activate. Click it to proceed to the job details form for that checklist type.
Overview
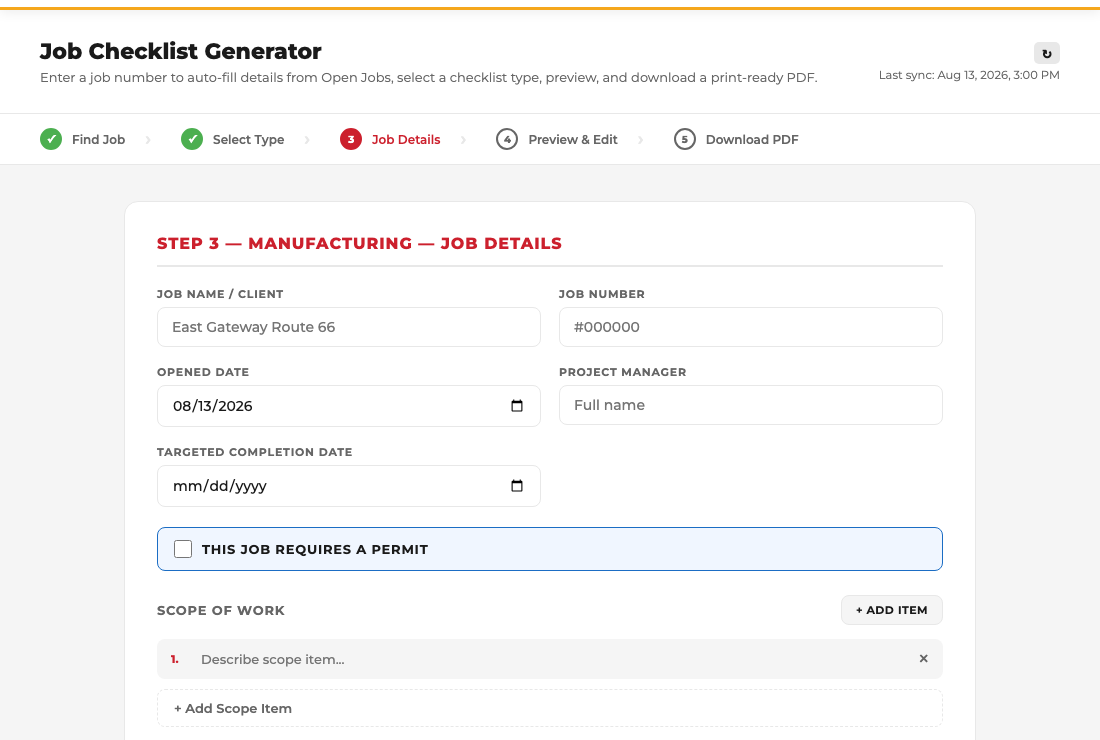
After selecting the checklist type, you'll be taken to a job details form. Review all auto-filled information, enter the date, and fill in any remaining fields before generating the preview. Once the preview is generated, use the built-in chat interface to make corrections without having to re-fill the form.
Steps
-
1Review the auto-filled informationIf you looked up a job in Section 1, the job name, job number, and project manager may already be filled in. Confirm they are correct before continuing.
-
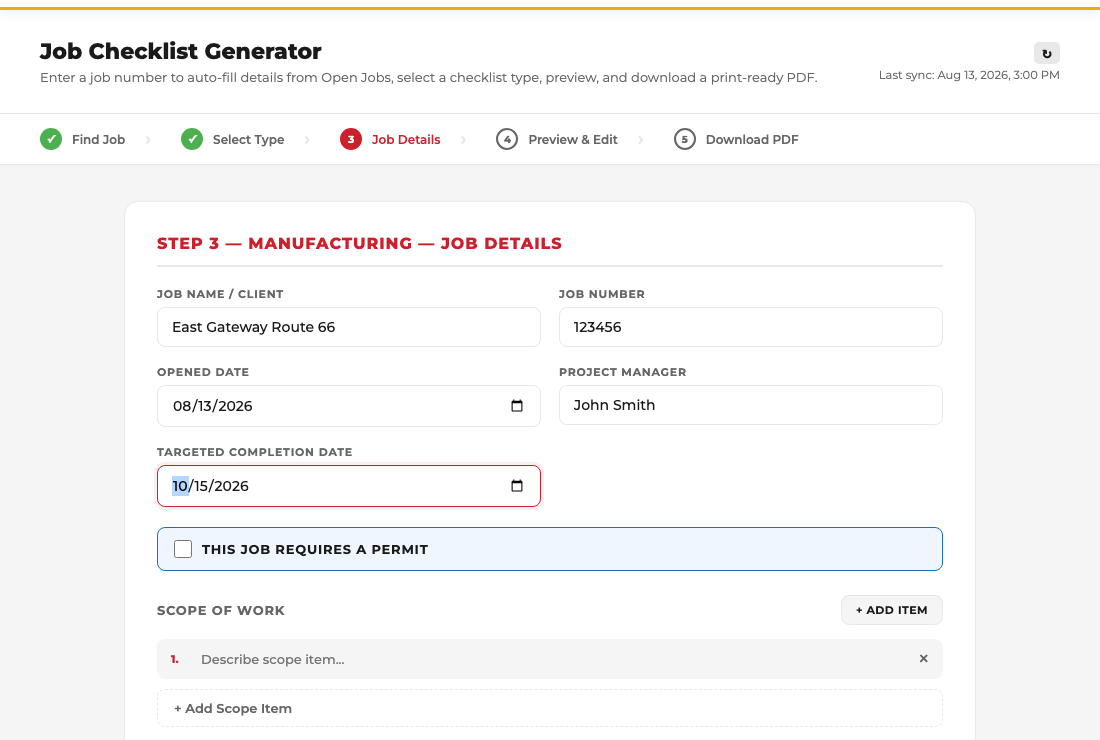
2Enter the date and any remaining fieldsFill in the Opened Date — this is not auto-filled and must be entered manually. Depending on the checklist type, you may also need to enter a Targeted Completion Date (Manufacturing / Ship-In) or an NTE amount (Service jobs).
-
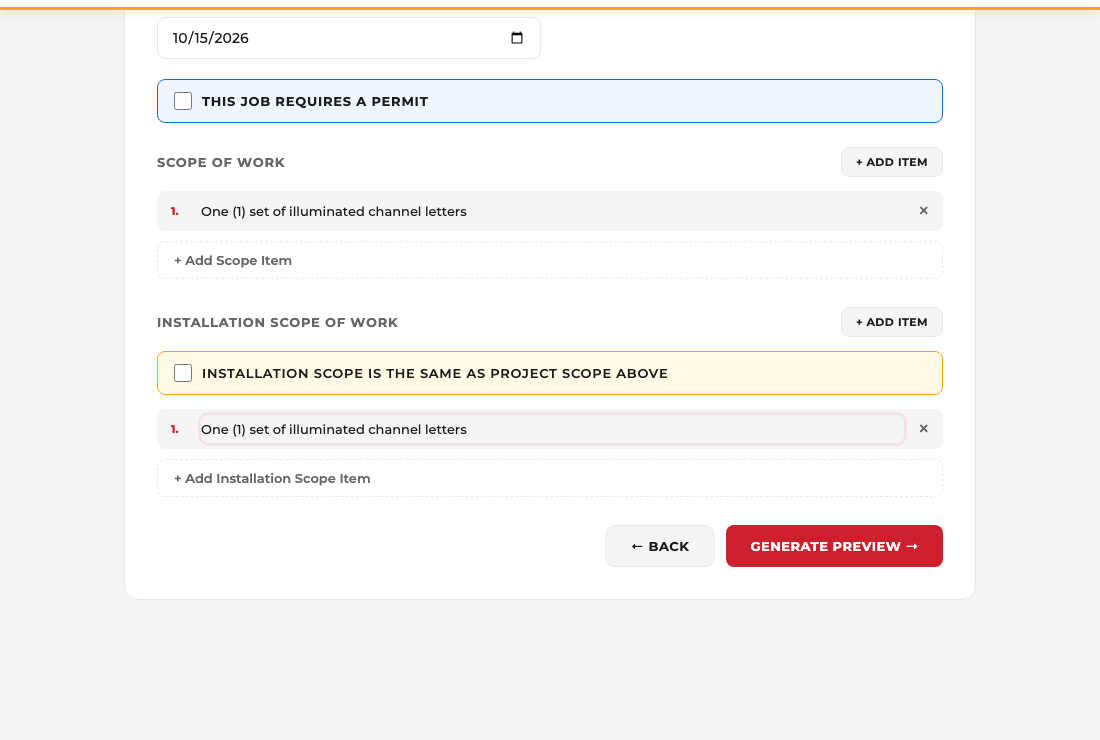
3Click "Generate Preview"Once all fields are filled in, click Generate Preview → at the bottom of the form. The checklist will appear formatted exactly as it will look when downloaded.
-
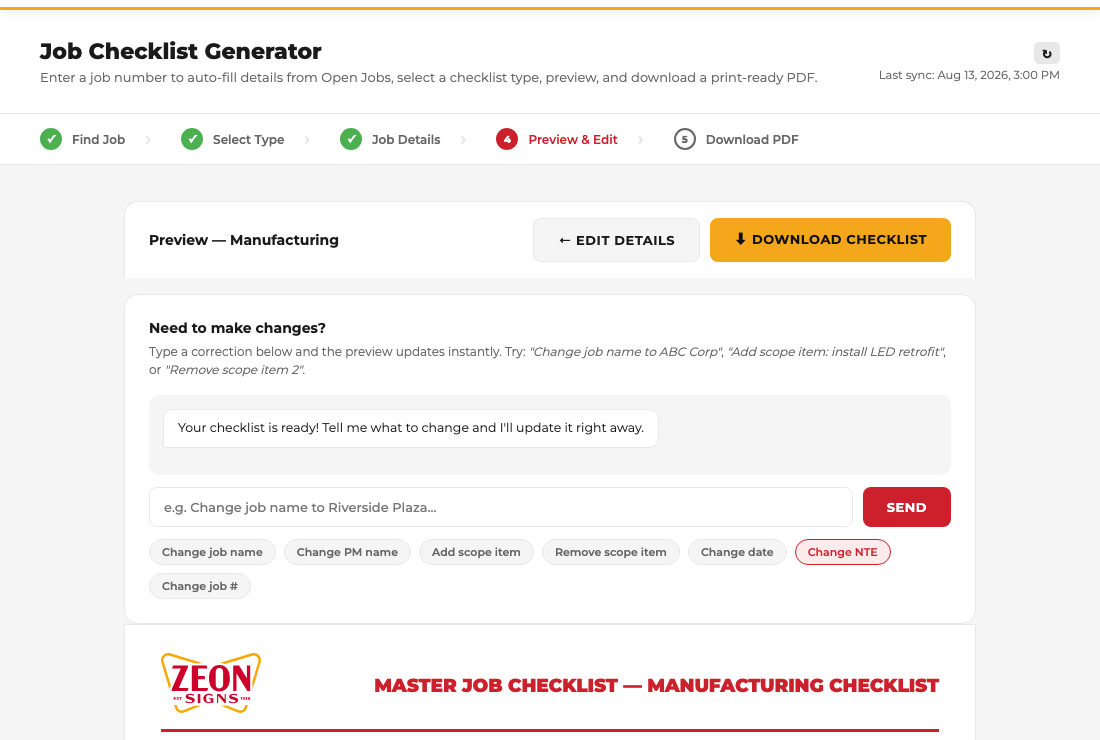
4Review the preview carefullyRead through the full checklist and verify that the job name, job number, project manager, dates, and scope of work are all correct before downloading.
-
5Use the chat box to make correctionsIf anything needs to be changed, type it into the chat box below the preview in plain language — the preview will update instantly without needing to redo the form. Examples:
"Change job name to Riverside Plaza"
"Add scope item: install LED retrofit"
"Remove scope item 2"
"Change project manager to Sarah"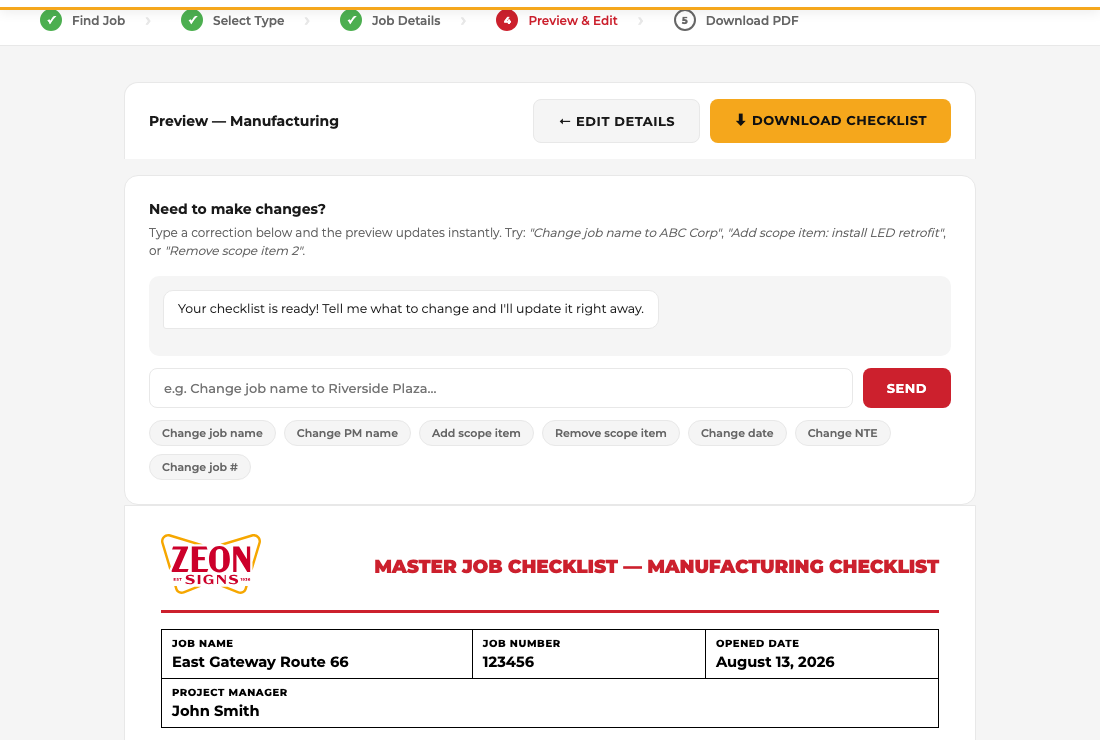
-
6Go back for major changesFor larger changes — such as switching the checklist type or overhauling the scope — click ← Edit Details to return to the job details form.
Overview
Once the preview looks correct, download the checklist as a PDF. If the job requires a permit, you'll download two separate documents — the job checklist and the permit checklist.
Steps
-
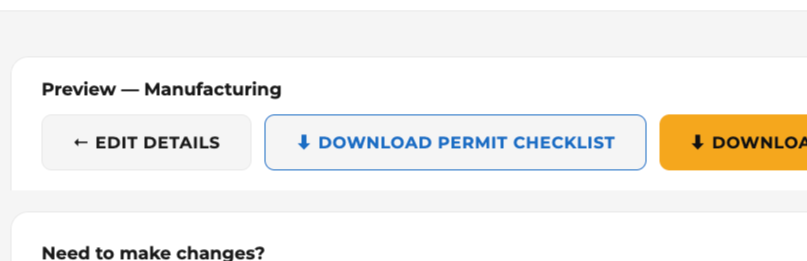
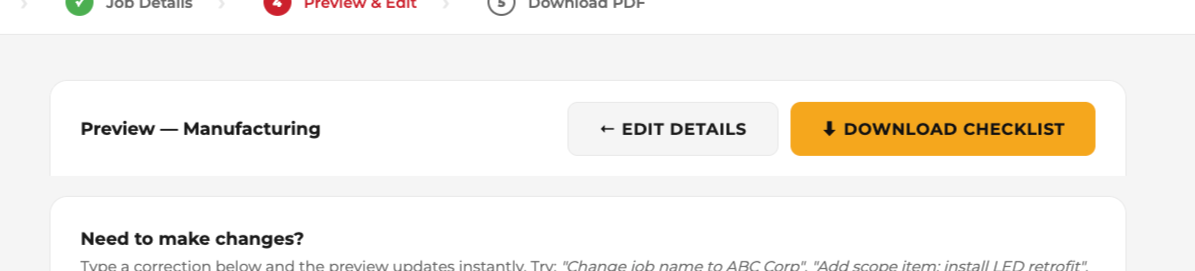
1Click "Download Checklist"Click the Download Checklist button in the top-right area of the preview toolbar. This will open the checklist as a formatted PDF ready to save or print.
-
2Download the permit checklist if applicableIf a permit is required for the job, a second button — Download Permit Checklist — will appear next to the main download button. Click it to download the permit checklist as a separate PDF document.